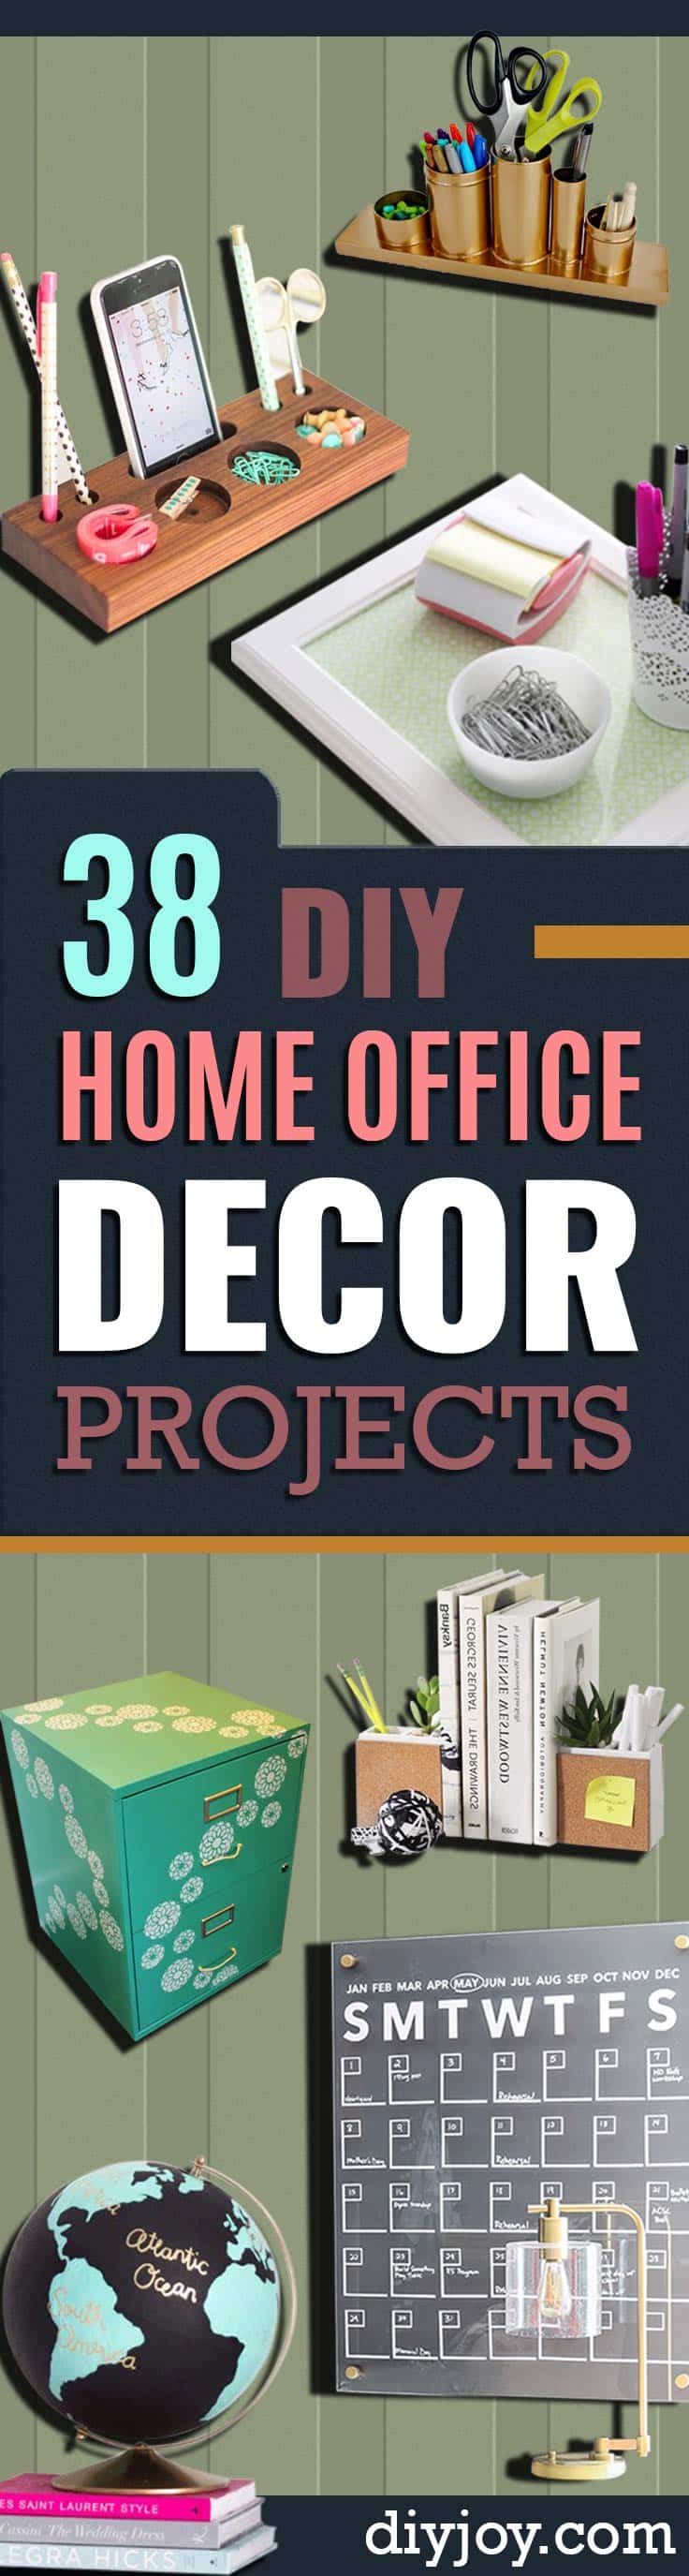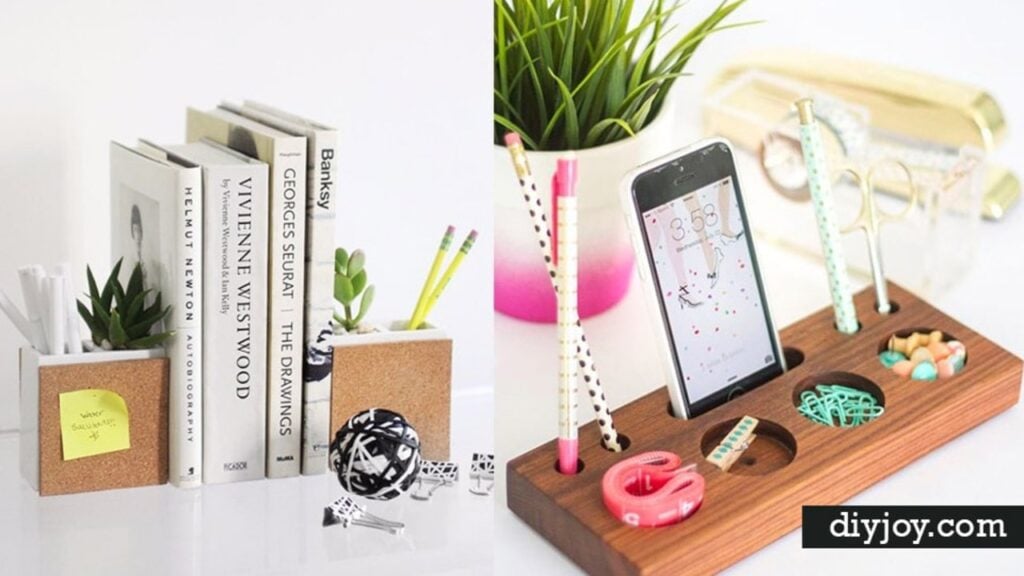
A workspace you actually like sitting in makes Monday a lot easier, and these 21 DIY home office decor ideas get you there without a designer budget. Home office decor is everything around the desk that makes the room work harder and feel better: wall calendars you can wipe clean, memo boards that tame paper piles, pencil cups, lamps and a little art at eye level. Some projects are fifteen minute fixes, like a fabric covered bulletin board or a picture frame that becomes a dry erase board. Others are proper weekend builds, from an industrial pipe lamp to a chalkboard painted file cabinet. DIY JOY originals with step by step videos are mixed in too, including a tin can desk organizer and felt fruit coasters. Pick one problem spot on your desk, start there, and let the rest of the room catch up over time.
1. DIY Mounted Wall Desk
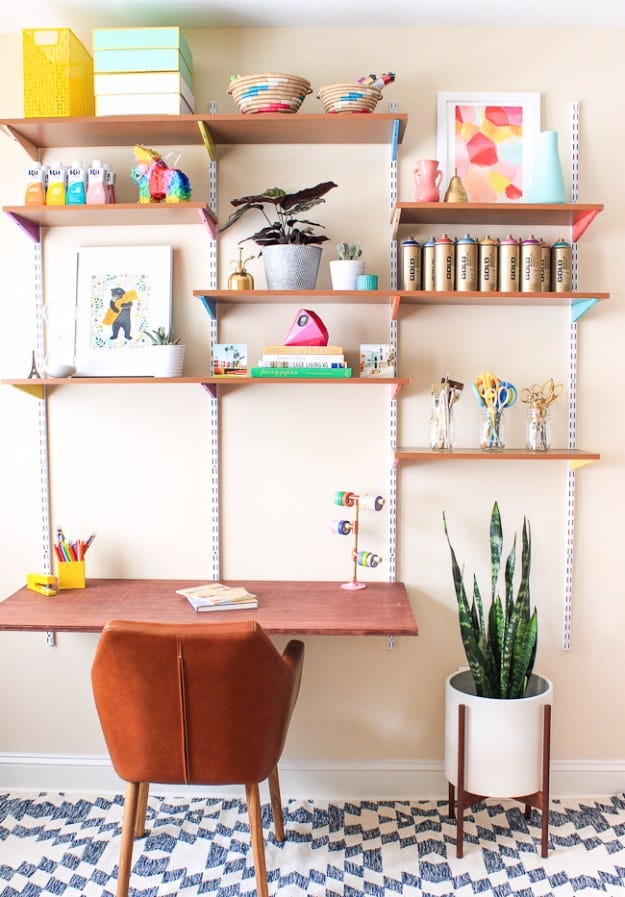
A mounted wall desk frees up floor space and turns a blank wall into a full workstation. This one hangs on wall track standards with adjustable brackets, each bracket spray painted a different bright color, and laminate shelf boards on top with one deeper board set at desk height. The whole unit ran about $220 in supplies and went up in a little over an hour. Because the brackets slide along the tracks, the shelves can move up or down whenever the room needs a refresh. Boards screwed tight to the brackets feel sturdier than loose store laminate.
Get the full tutorial at The Crafted Life.
2. Tin Can Desk Organizer
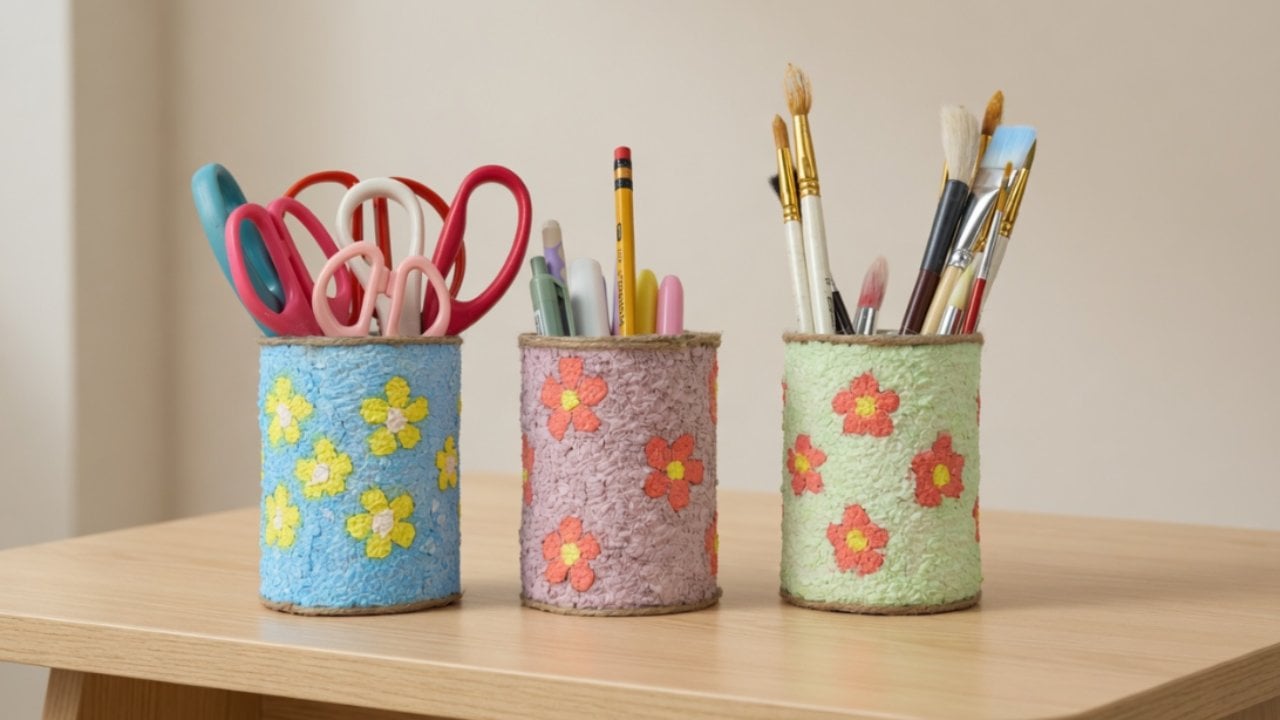
A tin can desk organizer gives empty cans a second life as pretty pen and brush holders. Tear tissue paper into small pieces, soak it in water, then squeeze it out and mash it into a soft pulp. Mix in white glue and acrylic paint until the color is even, adding a splash of water if it crumbles. Sketch a big, simple flower on the can, press the colored pulp into the design, then fill the background in a second shade. Let each layer dry fully, up to 24 hours, so the colors stay crisp and never bleed.
Get the full tutorial at DIY JOY.
3. DIY Honeycomb Shelves
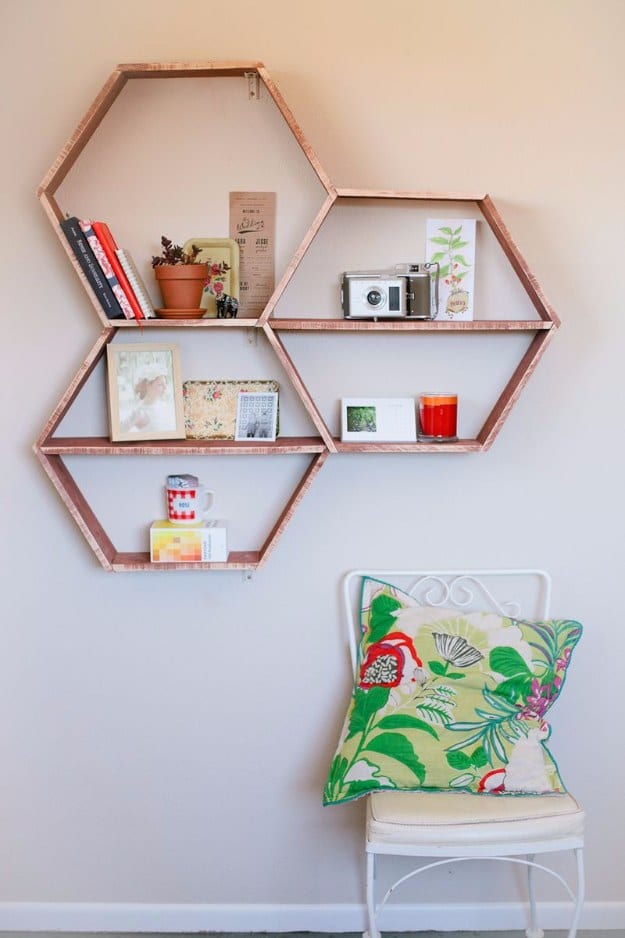
Honeycomb shelves look custom built, but they start as three wooden fence planks from the lumber store. Set a miter saw to 30 degrees and leave it there, then cut 15 matching pieces, each with a 12 inch long edge. Six pieces glue and screw into each hexagon, and pre-drilling every hole keeps the thin boards from splitting. Build three combs, join them, sand any rough spots and hang the cluster on wall brackets. Choose the straightest planks in the pile, since one warped board throws off every angle. Each cell fits a small plant or a framed print.
Get the full tutorial at A Beautiful Mess.
4. Beaded Vine Desk Plant
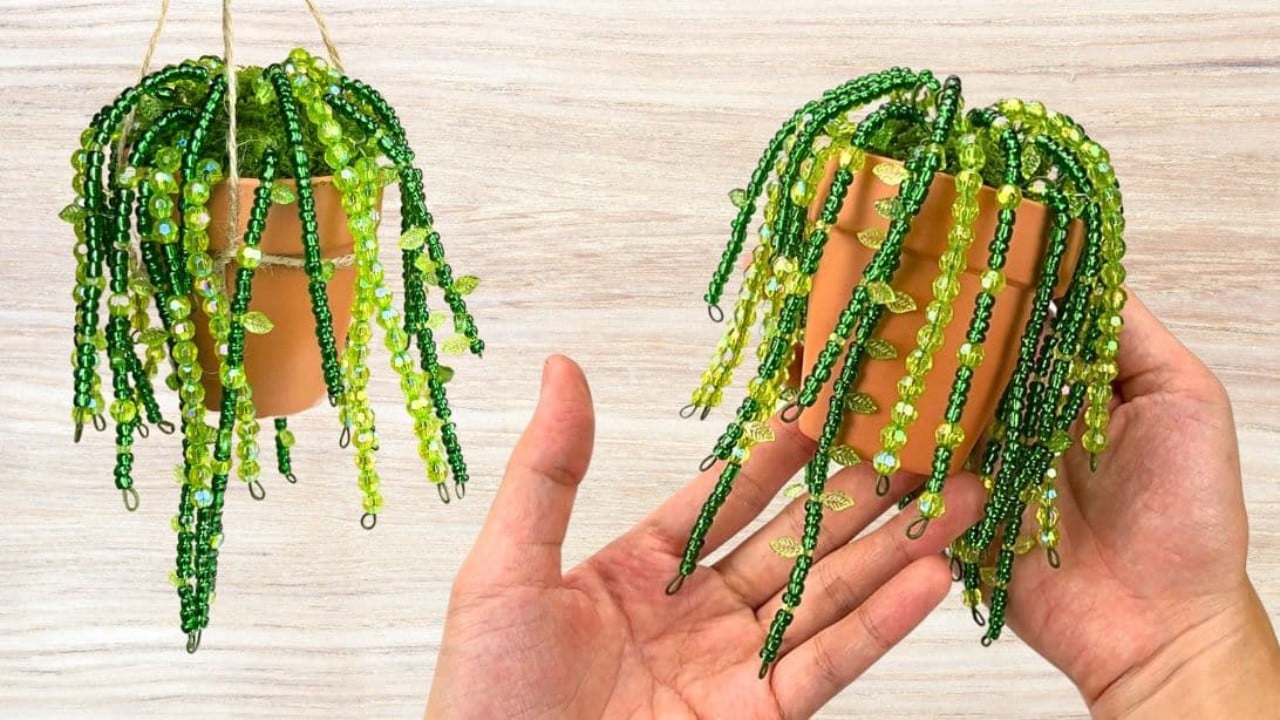
A beaded vine desk plant never needs watering and still brings a little green to the workspace. Pack a mini terracotta pot with craft foam, then cut floral wire into lengths a bit longer than the pot is tall and bend a small loop at one end of each. String green beads onto every wire, leaving a few inches bare at the top, and lock the last bead with a twist of wire. Cover the foam with faux moss, push the wires in and bend them over the rim so they trail like vines. Glass beads catch window light beautifully.
Get the full tutorial at DIY JOY.
5. Air Dry Clay Desk Tray
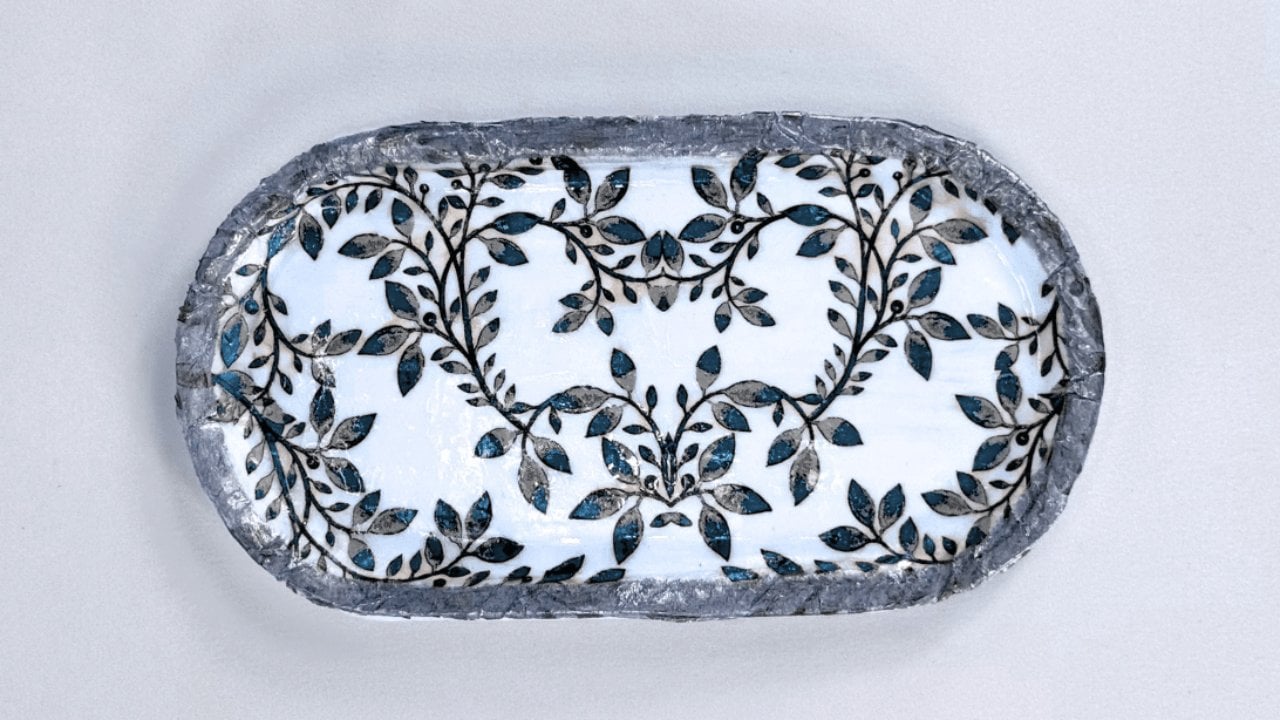
An air dry clay tray is a handy landing spot for paper clips, earbuds and rings beside the keyboard. Roll the clay to an even thickness, dust a store bought tray with baby powder and press the clay inside it, smoothing the surface with a damp sponge. Trim the excess and let it dry completely before popping it out. Prime it, then Mod Podge on the printed layer of a decorative napkin and seal it again. A metallic marker trims the rim, and a thin coat of UV resin cured under a lamp gives a glassy finish.
Get the full tutorial at DIY JOY.
6. Dry Erase Board And Desktop Tray
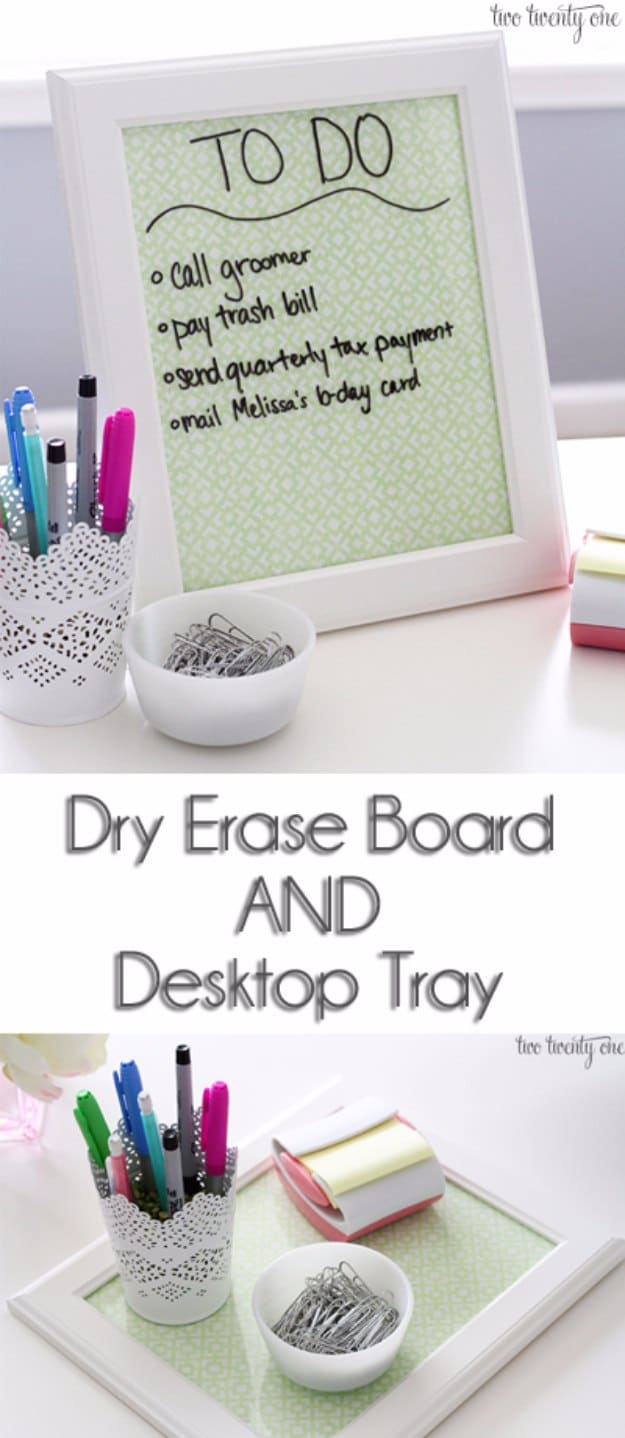
An 8 by 10 picture frame does double duty here as a dry erase board and a desktop tray. Pull out the glass, clean it, then lay strips of patterned masking tape across it in neat rows, wrapping about a quarter inch over each edge so the pattern lines up. Slip the glass back in with the taped side facing in and white cardstock behind it to make the colors pop. Write the day’s to-do list right on the glass with a dry erase marker, or lay the frame flat to corral paper clips and sticky notes.
Get the full tutorial at Two Twenty One.
7. Clay Flower Mirror
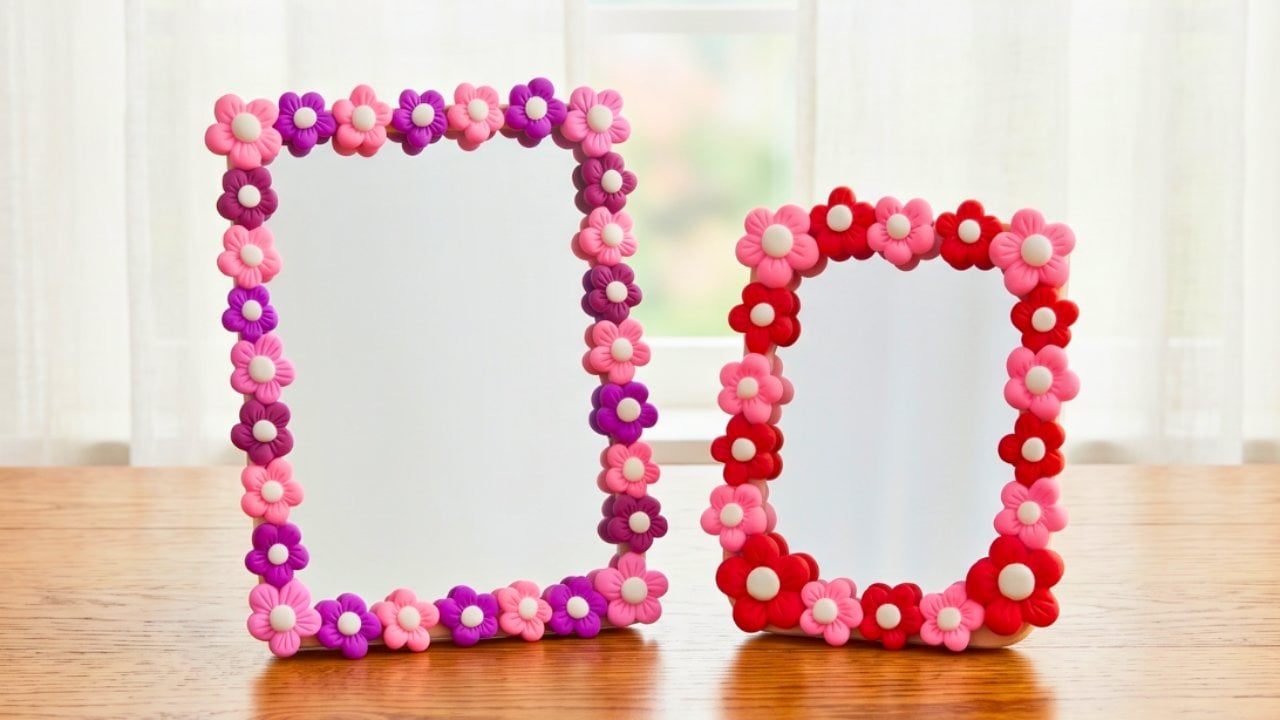
A clay flower mirror turns a plain dollar store frame into the happiest thing on the wall. Roll soft clay into small balls and press three lines into the bottom of each with a sculpting tool so they look like petals. Group five petals into a flower and add a tiny white ball at the center, then make a bunch more in different colors and sizes. Let them firm up until they are no longer sticky, plan the layout around the frame and hot glue each flower in place. A coat of gloss varnish helps prevent cracks.
Get the full tutorial at DIY JOY.
8. DIY Diamond Ripple Wall Art
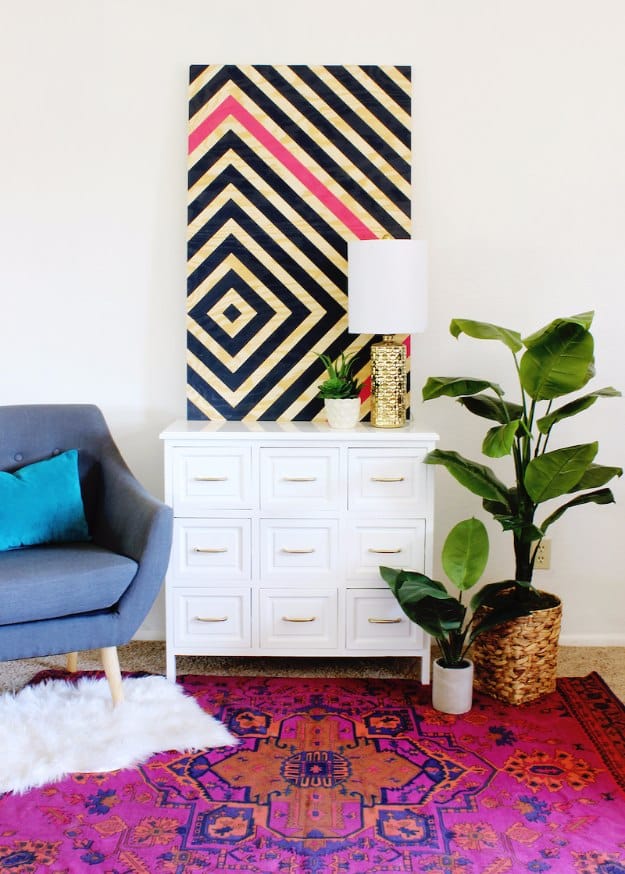
Diamond ripple wall art gives a big blank wall a bold focal point for the cost of plywood and two sample pots of paint. Cut a board to fit the space (30 by 48 inches suits a console or desk). Pencil a small square in one corner, tape around it with narrow painter’s tape and trim it square with a craft knife. Then alternate wide and narrow tape outward until the board is covered. Pull up only the wide strips, paint the bare wood and peel the rest to reveal the rippling pattern. It is a renter friendly way to add color.
Get the full tutorial at Classy Clutter.
9. DIY Fringe Photo Garland
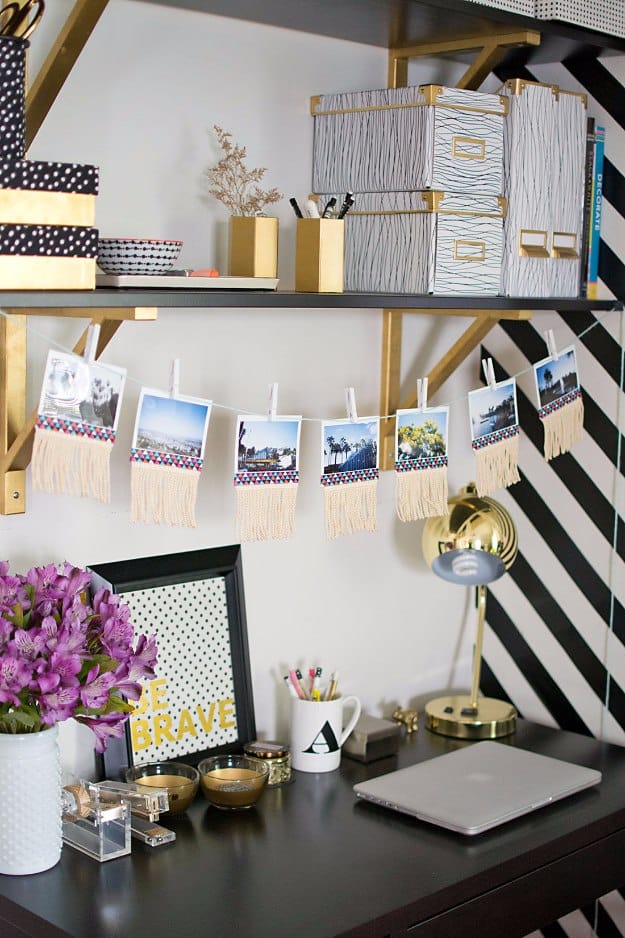
A fringe photo garland is a sweet way to show off summer snapshots above a desk. Instant prints get a strip of fringe trim along the bottom edge, which adds movement and a little boho texture. Clip each one to a length of string with mini clothespins and stretch it beneath a shelf or across a bulletin board. A favorite washi tape dresses up the hanging points too. It is easy enough for anyone, and swapping in new photos takes seconds, which makes it a great back to school or dorm desk project.
Get the full tutorial at Homey Oh My.
10. DIY Gold Moon Wall
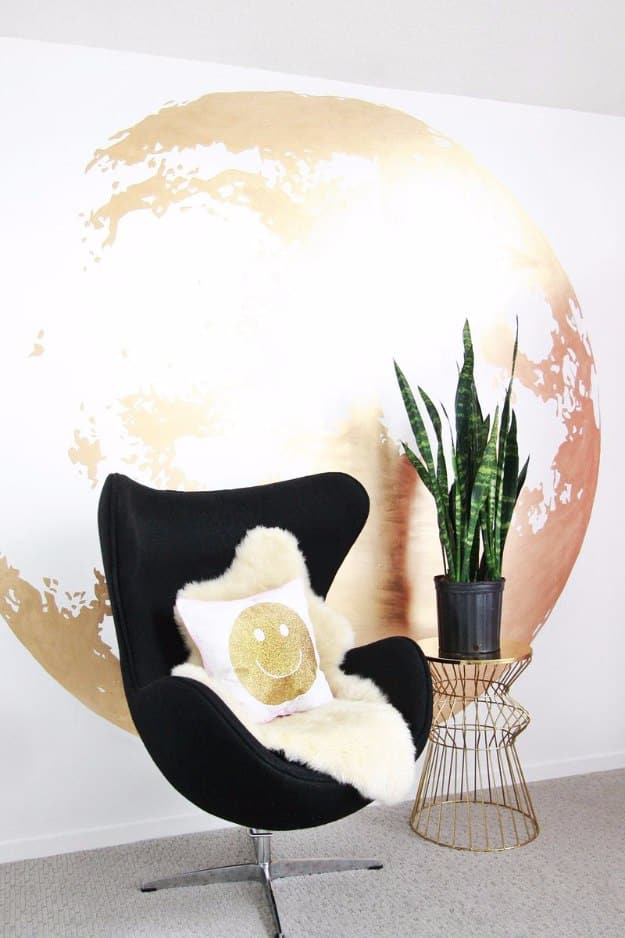
A gold moon wall turns a reading corner or creative nook into something dreamy. Print a photo of the full moon onto a transparency sheet and use an overhead projector to cast it onto the wall at the size you want. Outline the bright shapes with gold leafing paint, then fill in the solid areas once the outline is complete. Metallic leafing paint has strong fumes, so keep a window open and mineral spirits nearby for brush cleanup. It takes patience and a few evenings, but the glow behind a chair is worth every hour.
Get the full tutorial at A Beautiful Mess.
11. Whistle While You Work Snow White Sign
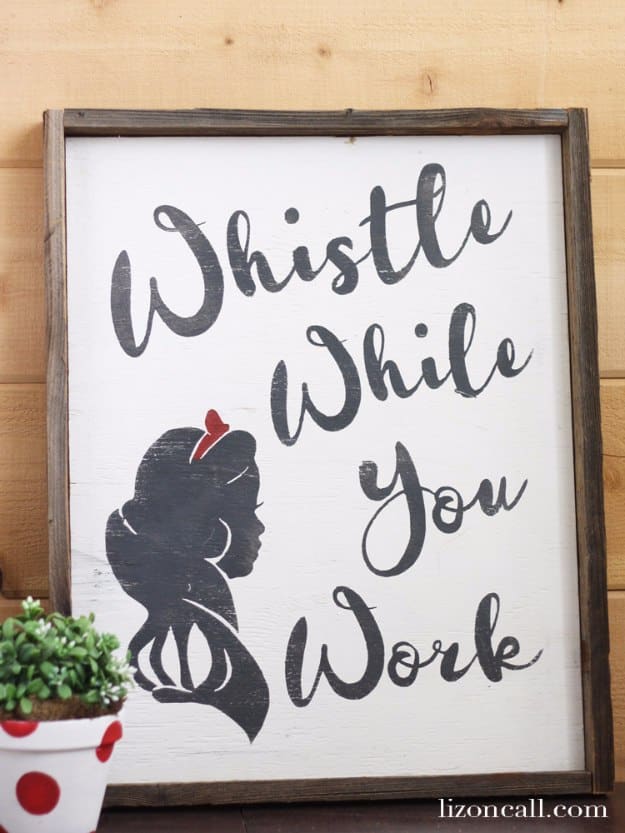
Disney fans will love this hand painted Whistle While You Work sign for a home office or craft room. Paint a 16 by 20 inch piece of 3/8 inch plywood white with chalk paint, then apply a reverse vinyl stencil of the lettering and a Snow White silhouette. Dab on charcoal paint with a nearly dry brush so nothing bleeds under the vinyl, building up a few thin coats. A touch of red on the bow adds charm. Peel the vinyl while the paint is slightly wet, sand lightly for a worn look and add a simple wood frame.
Get the full tutorial at Liz on Call.
12. Easy To Make Burlap Pencil Holder
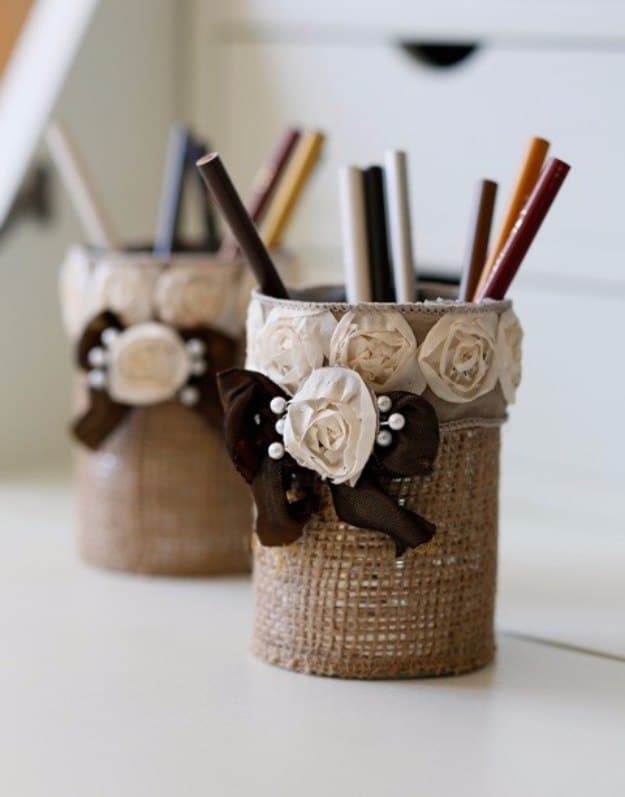
A burlap pencil holder is a sweet five minute upcycle for an empty soup can. Wash the can and peel off the label, then wrap it with burlap ribbon that has finished edges, gluing a line along the top and bottom. Add a strip of fabric rose ribbon around the top border, tie a satin bow and tuck a single rose in the center, pinning it all in place with pearl head pins. The silver of the can peeks through the loose burlap weave. Make a pair for desk pens, or a set for rustic wedding tables.
Get the full tutorial at Happy Happy Nester.
13. Stylish Acrylic Wall Calendar
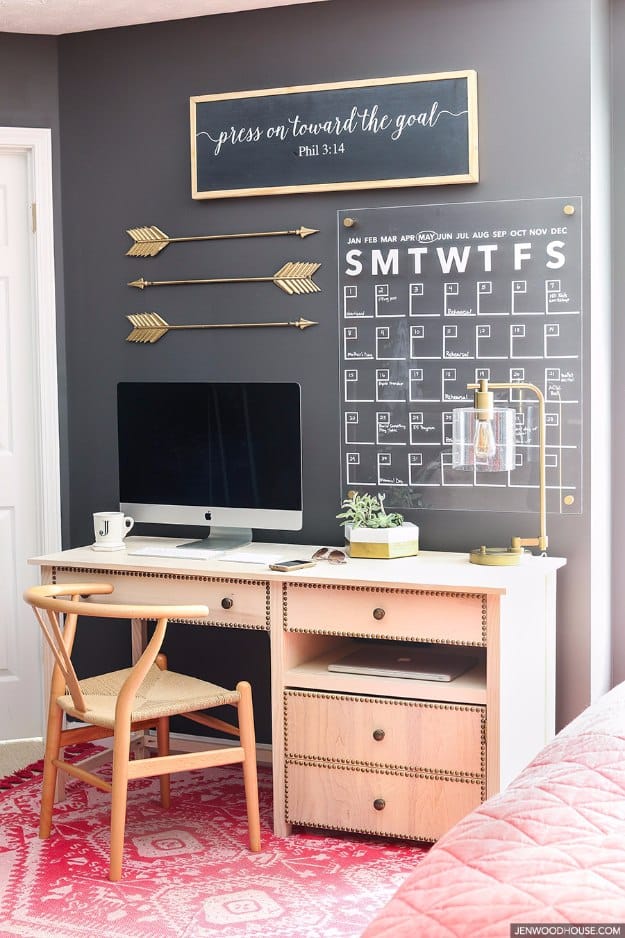
A big acrylic wall calendar looks sleek in a modern office and wipes clean every month. Start with a 30 by 36 inch acrylic sheet, keep the protective film on and clamp it down before drilling a 5/16 inch hole about an inch and a half in from each corner. Cut the month, day names and grid from adhesive vinyl with a cutting machine, mirrored so the decals go on the back and never smudge. Spray four stainless standoffs gold and mount the sheet to the wall. Fill in dates with a chalk marker.
Get the full tutorial at The House of Wood.
14. Photo Resin Coaster
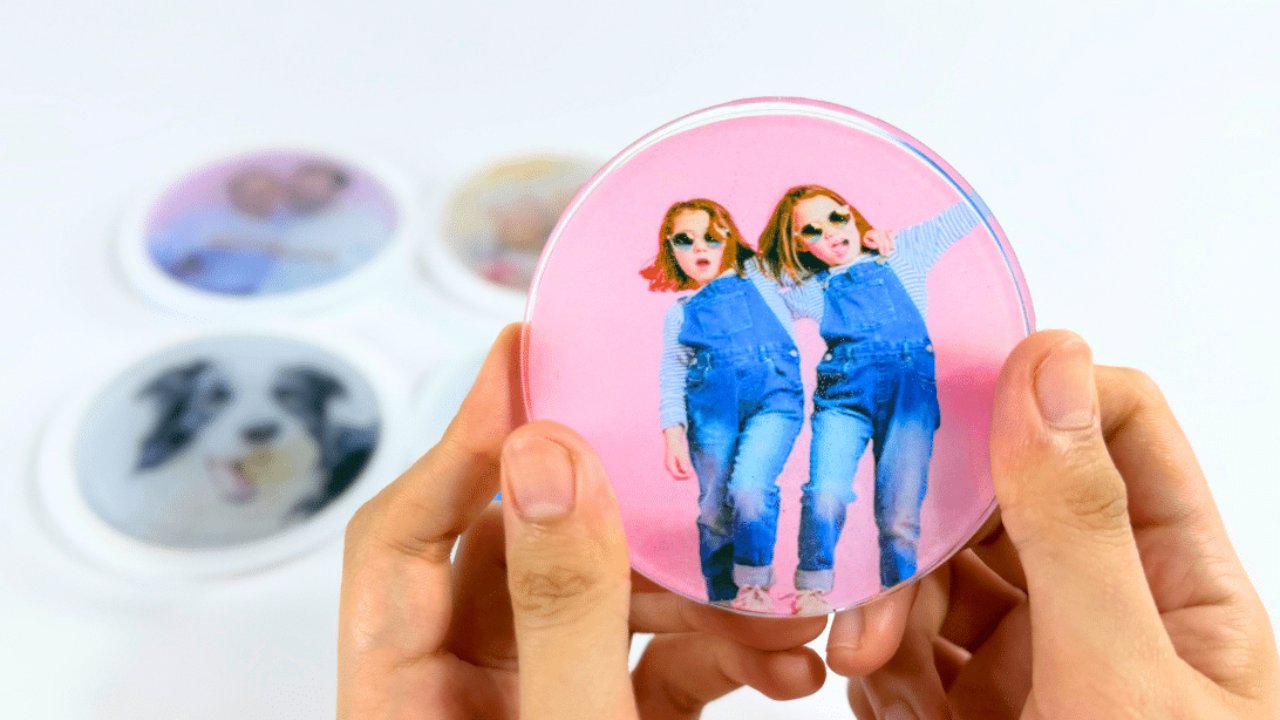
A photo resin coaster turns a favorite picture into a glossy keepsake that protects the desk from mug rings. Mix about 36 grams of epoxy resin with 12 grams of hardener for a 3 to 1 ratio and stir slowly for five to ten minutes so bubbles stay away. Pour a thin layer into a round silicone mold. Trace a round object over the photo, cut it out and lay it face up on the resin, then fill the mold to the top. Let it cure a full 24 hours before popping it out. Gloves are a must.
Get the full tutorial at DIY JOY.
15. Desk Lamp Tutorial
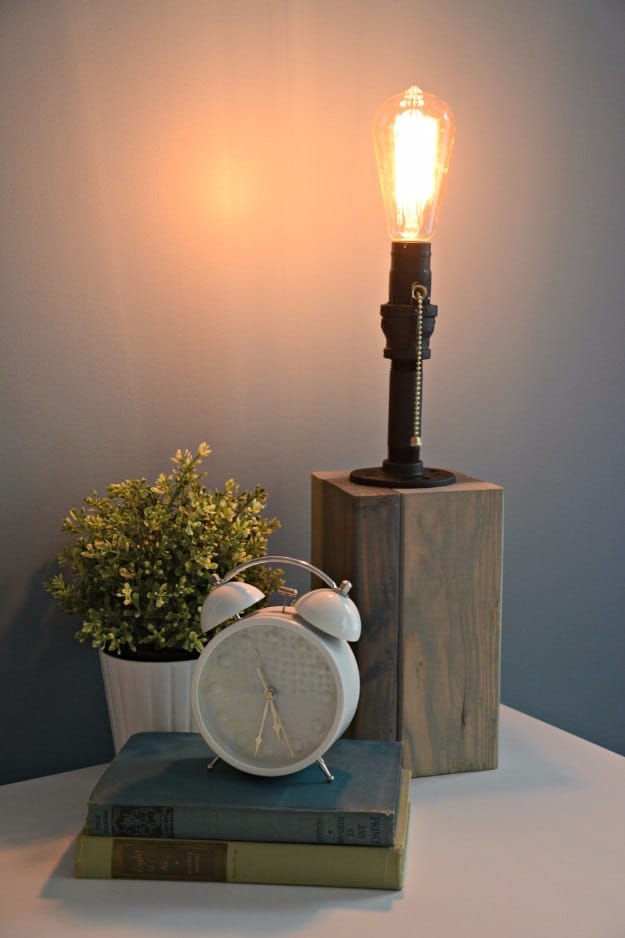
An industrial desk lamp comes together from a 2×4 and a few plumbing parts. Cut the 2×4 into 9 inch pieces, stain or paint them, then glue them into a chunky block and clamp until set. Screw a 3/4 inch flange on top and add a short black iron pipe and a reducer. Drill a hole low on the back of the block, feed a lamp cord kit up through the wood and pipe, wire it to an on/off socket and seat the socket in the reducer. An Edison bulb finishes the look on a desk or a nightstand.
Get the full tutorial at Decor and the Dog.
16. Painted Leather Home Office Chair
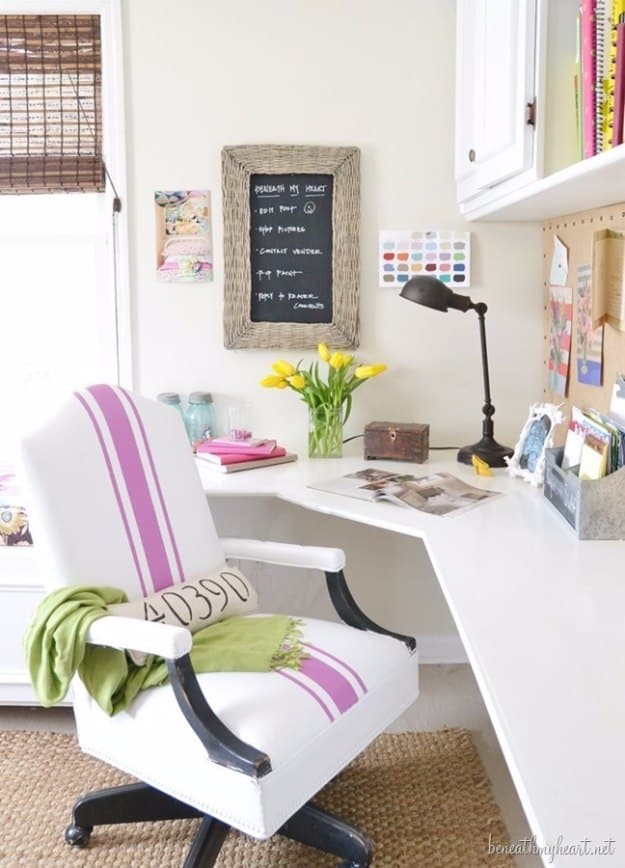
Painting a leather office chair sounds risky, but it gave a thrifted find a fresh, sporty look. Start with a coat of chalk paint, which grips slick surfaces, and sand lightly once dry. Follow with a satin white enamel and sand again. Tape off racing stripes down the seat and back, roll on two coats of a bold orchid pink, then peel the tape and finish with clear furniture wax. The leather stays surprisingly soft. Durability is the open question, so plan on touchups after a year of daily use.
Get the full tutorial at Beneath My Heart.
17. Felt Fruit Coasters
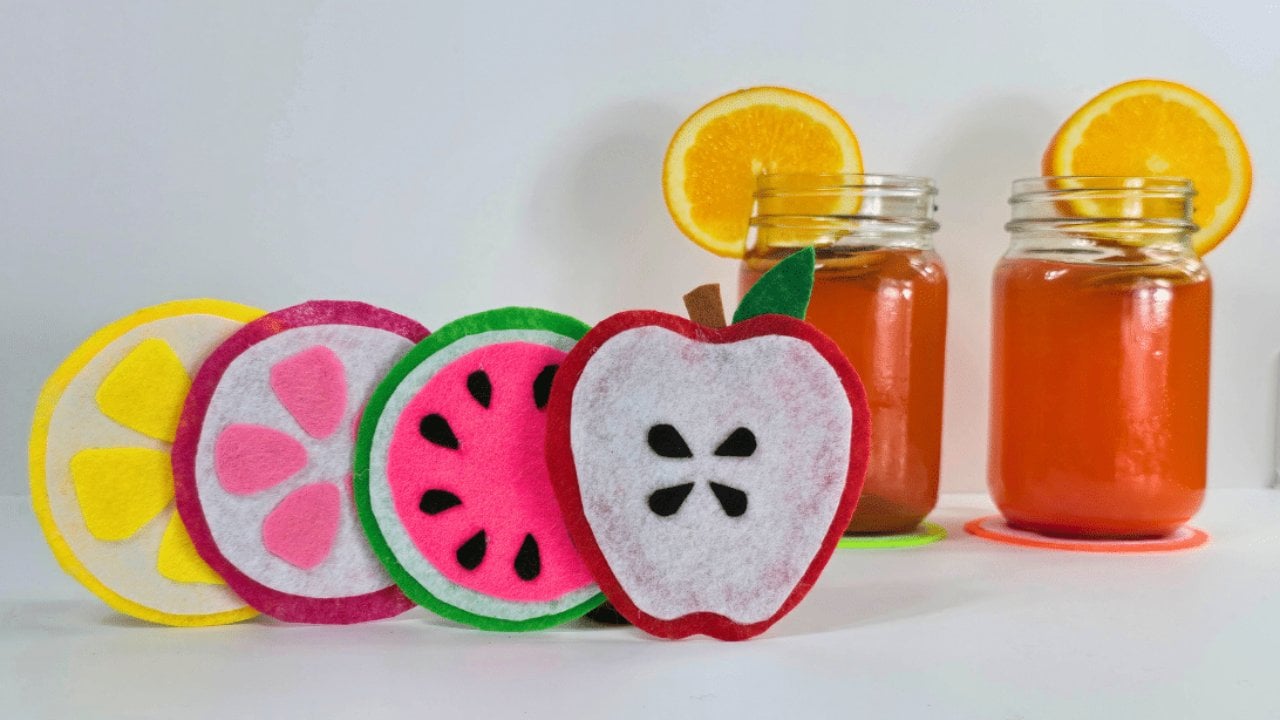
Felt fruit coasters are a no sew project that comes together in under an hour. For a lemon, cut a large yellow circle, a slightly smaller white one and five little yellow triangles for the segments, then hot glue them in layers. A watermelon stacks green, white and pink circles with black teardrop seeds, and an apple uses a simple paper template for the outline. Stiff craft felt keeps them flat, and tailor’s chalk traces cleaner than a pen. Use glue sparingly at the edges so no shiny marks show.
Get the full tutorial at DIY JOY.
18. Embroidery Hoop Orbs
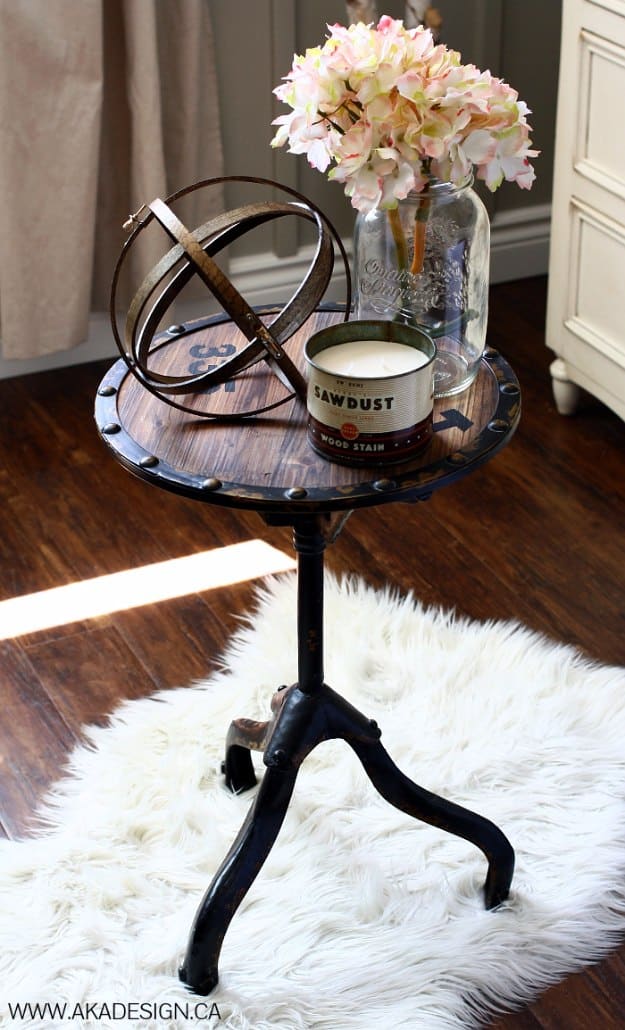
Embroidery hoop orbs copy the look of pricey industrial spheres for just a few dollars. Each orb needs two wooden hoops of the same size. Take the hoops apart, then wipe dark walnut stain over every surface with a lint free rag or a foam brush and let them dry. Slide the four rings together at right angles to form a sphere and tighten the hoop screws to hold everything in place. Group two or three on a side table, a bookshelf or a desk corner beside a candle and a bundle of flowers.
Get the full tutorial at Home Made Lovely.
19. DIY Fabric Bulletin Board
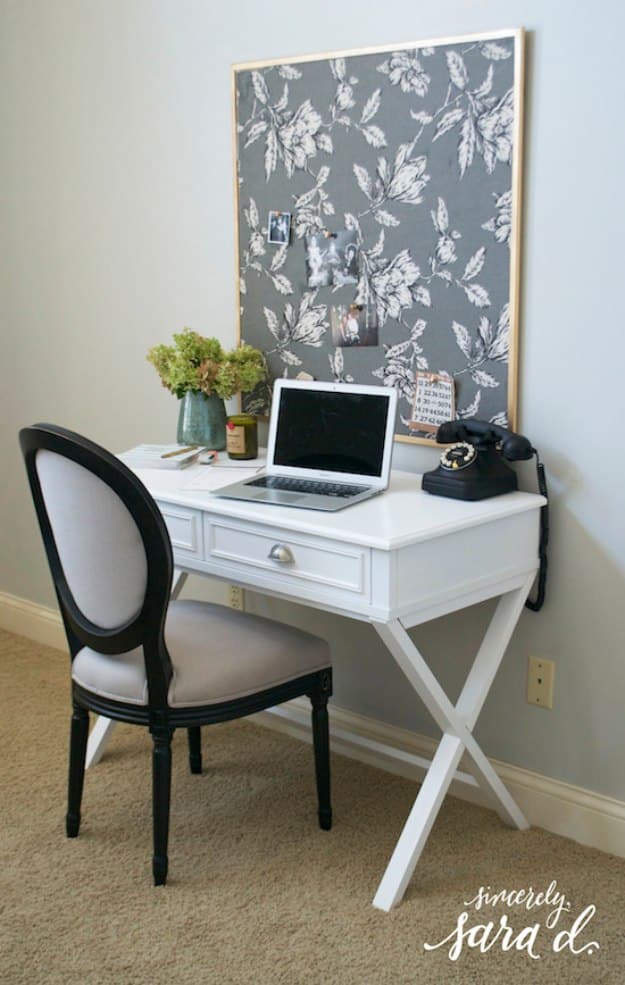
A fabric bulletin board makes a big wall above the desk pretty and useful at the same time. Spray paint the frame of a large cork board gold, then lay the board on your fabric and cut around it, leaving the factory edges alone on two sides. Brush Mod Podge over the whole cork surface, line those straight edges up with the frame and smooth out bubbles with your hands. Trim the last two sides tight to the frame with a razor blade. Pin up photos and reminders on a print you already love.
Get the full tutorial at Sincerely, Sara D.
20. Stylish Apothecary Jars
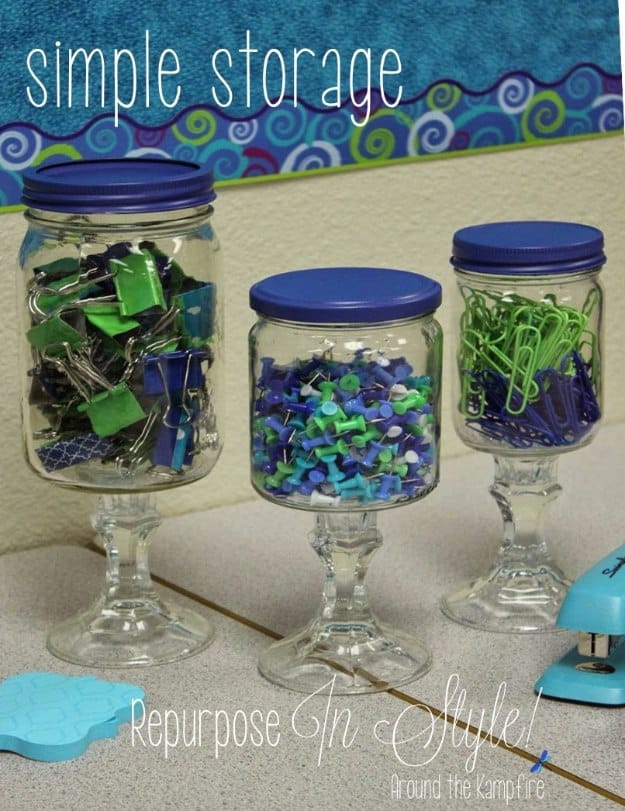
Apothecary jars turn loose binder clips and push pins into desk decor. Save salsa and pickle jars or grab a few at the thrift store, then glue each one to a glass candlestick holder with E6000 and let it cure. Lightly sand the lids so spray paint grips, then paint them a color that matches the room. Fill the jars with paper clips, thumbtacks and sticky notes. Plastic jars and party store candle holders are a safer swap where little hands reach. Filled with treats, they make a sweet teacher gift.
Get the full tutorial at Around the Kampfire.
21. File Cabinet Makeover
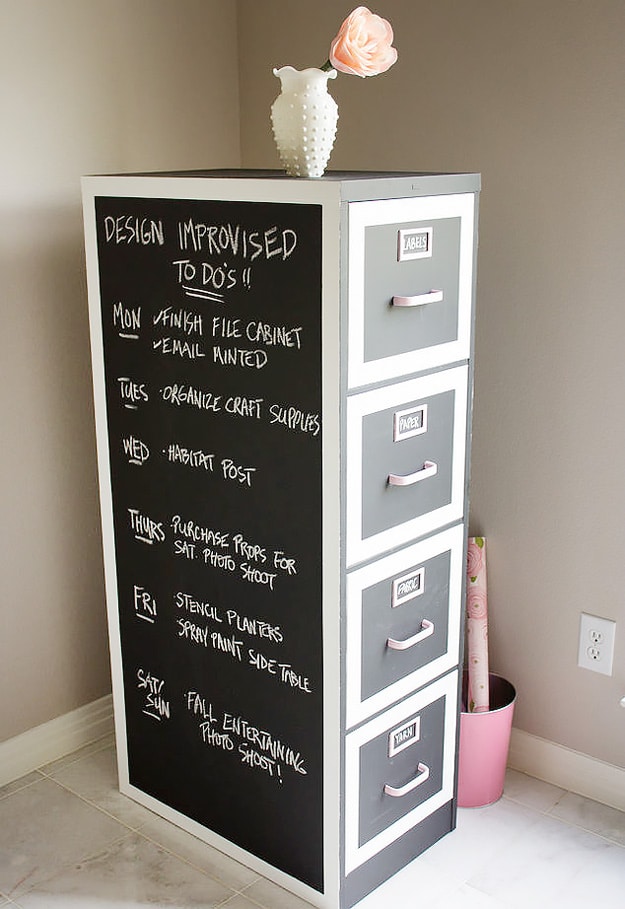
A file cabinet makeover with chalkboard paint turns a dented metal cabinet into storage and a planner in one. Look for old cabinets at a Habitat for Humanity ReStore, where they often sell for around $50. Clean it, cover the whole cabinet in chalkboard paint and give the drawer pulls a soft pink coat for contrast. The deep drawers hold fabric, yarn and bulky supplies, while hanging folders keep stickers, labels and papers sorted. Write the week’s plan right on the front in chalk. Budget about eight hours over two days.
Get the full tutorial at Design Improvised.